 Instagram
  Youtube
  Whatsapp
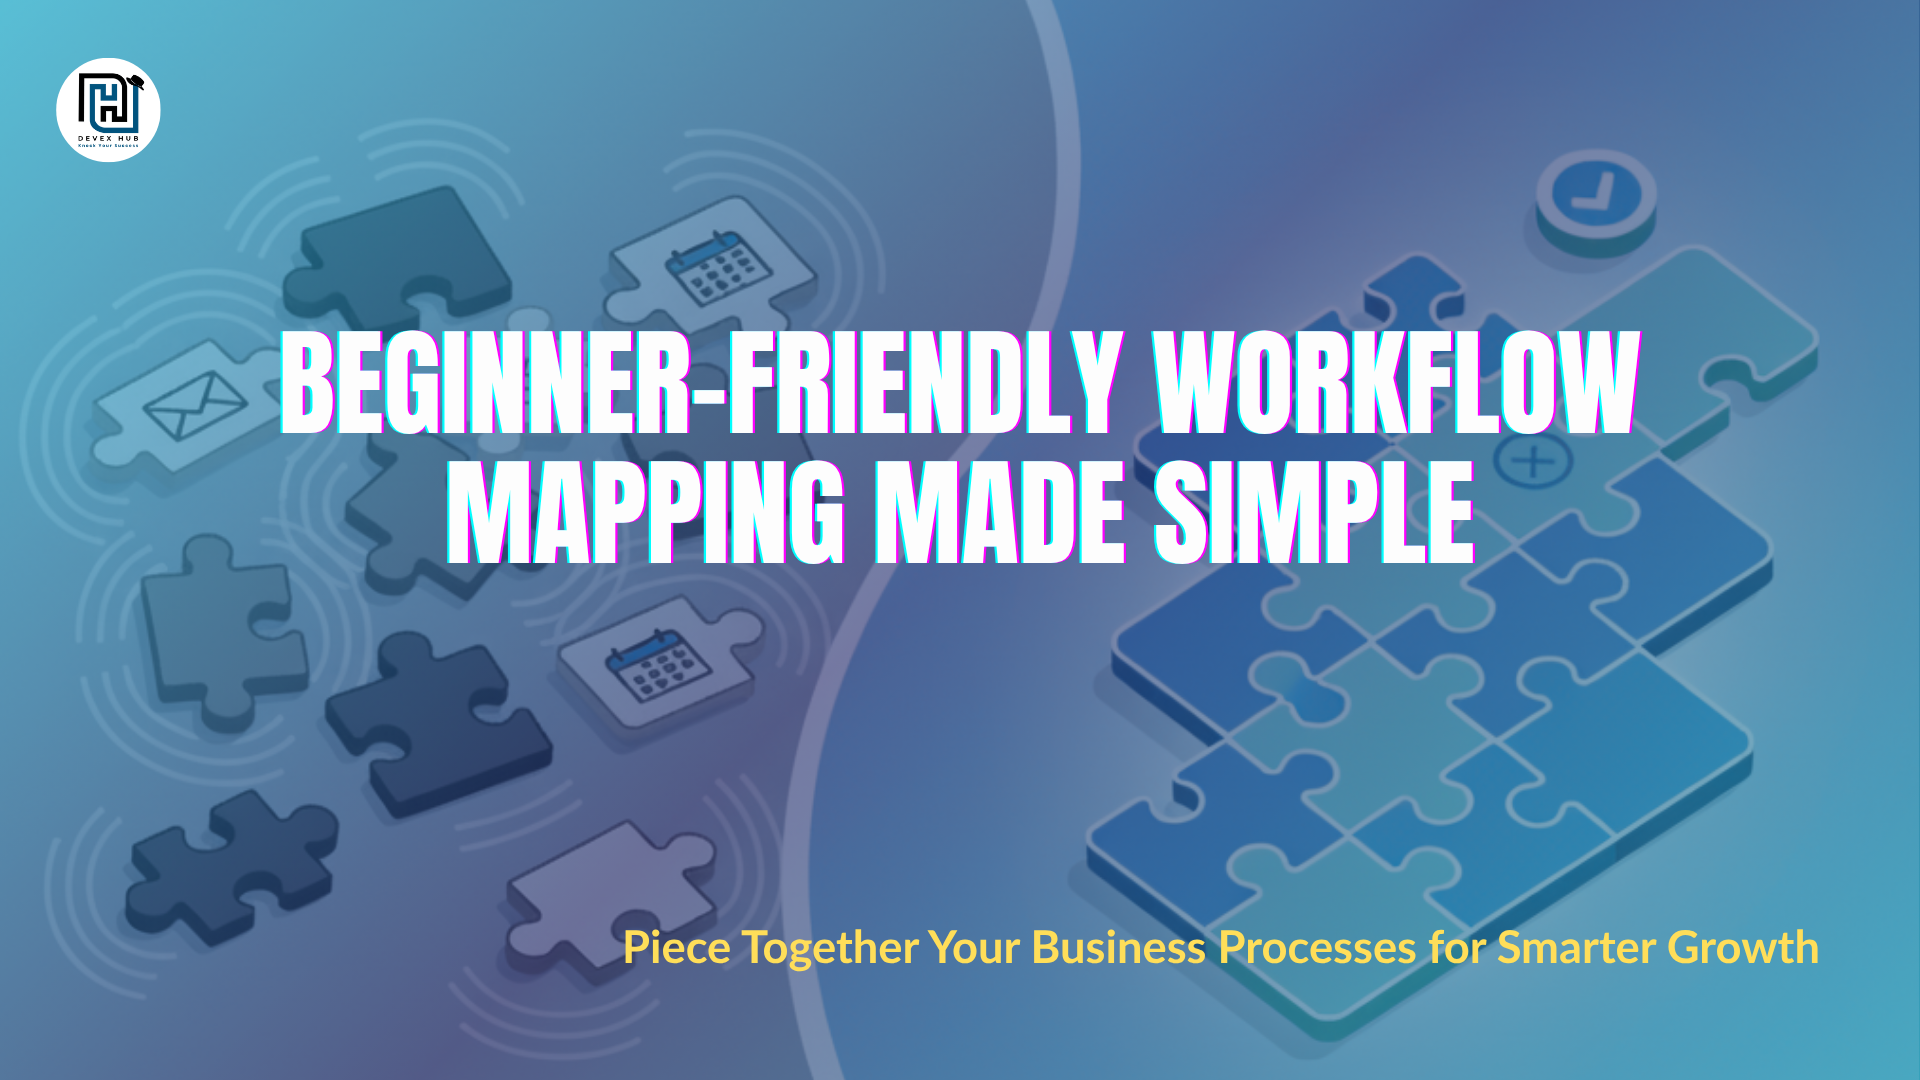
 Workflow Mapping for Beginners: Build Scalable Systems Without Stress
Running a business today is exciting—but it can also feel overwhelming. Between managing clients, juggling multiple tools, coordinating teams, and handling repetitive tasks, many business owners often feel like they’re drowning in their own processes.
You’ve probably asked yourself: “Where do I even start with automation?” That’s where workflow mapping comes in. Workflow mapping is the first step to building scalable systems that save time, reduce errors, and make your business run smoother—all without creating extra stress.
In this guide, we’ll break down workflow mapping in simple, actionable steps so even beginners can start building systems that grow with their business. However, this blog will give you insights about general, simple workflows for beginners. If you are looking for complex workflow automations, hire an expert AI developer team that can provide personalized solutions tailored to your business challenges.
Key Takeaways
- Workflow mapping is the first step to scalable business systems.
- Start by identifying bottlenecks and repetitive tasks.
- Map workflows visually to see where automation adds the most value.
- Prioritize high-impact tasks first and expand gradually.
- Use beginner-friendly tools like Zapier, Make, n8n, and AI assistants.
- Build, test, and optimize continuously.
- Document and train your team for long-term success.
- Small wins in automation lead to big time savings and reduced stress.
What is Workflow Mapping?
Workflow mapping is basically visualizing the steps in your business processes from start to finish. Think of it as drawing a map of how work gets done in your company—step by step.
Why does it matter? Because when you see your workflow laid out clearly, you can spot:
- Repetitive tasks that waste time
- Delays caused by dependencies between team members
- Errors or inefficiencies that slow down growth
For example, consider your sales process. You might have leads coming in through multiple channels, follow-ups being done manually via email, and data stored in several disconnected tools. Mapping this workflow will show you exactly where automation can save time and reduce mistakes. Learn how an AI automation agency helps businesses build scalable workflows efficiently.
Step 1: Identify Bottlenecks in Your Business
Before you start automating anything, you need to see where the problems are. These “problem areas” are called bottlenecks—points in your workflow where tasks slow down, pile up, or cause mistakes.
Here’s how beginners can identify bottlenecks:
- Track repetitive tasks – Write down all the tasks you or your team do daily or weekly. Examples: sending follow-up emails, manually updating spreadsheets, answering the same customer questions.
- Spot human errors – Repetition increases mistakes. Incorrect invoices, missed follow-ups, or data inconsistencies are signs a task could be automated.
- Identify delays – Look at processes that take longer than they should. Are approvals slow? Are leads falling through the cracks?
- Check dependencies – Are certain tasks waiting on others to finish? The more dependent a process, the higher the chance of delays.
Action Step: Make a list of your 5–10 most time-consuming or error-prone tasks. These will become your first automation priorities.
Step 2: Map Your Current Workflow
Once you’ve identified bottlenecks, the next step is to map your current workflows. Mapping means documenting the step-by-step flow of each process in your business.
Here’s a beginner-friendly approach:
- Break down each process – List all the tasks involved in each area of your business, including sales, marketing, support, and operations. Don’t skip any detail.
- Highlight dependencies – Identify tasks that rely on someone else completing a previous step.
- Look for duplication – Check if tasks are being repeated unnecessarily or if data is disconnected between tools.
- Use simple visual tools – Flowcharts, diagrams, or even sticky notes on a wall work perfectly for beginners.
Mapping gives you a visual picture of your processes, helping you decide which parts are ready for automation and which need optimization first.
Step 3: Prioritize Automation Opportunities
Not every task should be automated immediately. Focusing on the right tasks first will give you the fastest return on time and efficiency.
Framework for beginners:
- High-impact + repetitive tasks – Automate tasks that take a lot of time and are done frequently. Examples: lead capture, follow-up emails, invoice generation.
- Medium-impact tasks – Automate processes that support workflow consistency. Examples: internal notifications, reporting, task reminders.
- Low-impact tasks – Automate rare or minor tasks later.
Tip: Use a simple scoring system: Time Spent × Frequency × Impact. The higher the score, the earlier you should automate it. See how AI integration services provider agencies connect multiple tools into one seamless system.
Step 4: Choose the Right Tools
The right tools make workflow automation practical and beginner-friendly.
Beginner-friendly no-code tools include:
- Zapier – Connects apps and automates workflows without coding.
- Make (Integromat) – Advanced integrations and automation.
- n8n – Open-source automation platform for custom workflows.
- AI Chat Assistants – Automate FAQs, lead follow-ups, and customer support.
Tips for beginners:
- Start with one workflow and one tool at a time.
- Connect only essential tools initially.
- Test each workflow before adding more complexity.
The goal is to simplify, not complicate, and gradually expand as you gain confidence.
Step 5: Build, Test, and Optimize Workflows
Automation is not set-and-forget. You need to build, test, and optimize continuously.
Steps to follow:
- Build one workflow at a time – Don’t try to automate everything at once.
- Test thoroughly – Look for errors or missed steps.
- Check the results – Track improvements in efficiency, lead activity, and completed automated tasks.
- Refine regularly – Make improvements to your workflows using insights from performance and team input.
Example: If an automated lead follow-up email isn’t getting responses, tweak the timing, content, or triggers. Small adjustments can make a big difference.
Step 6: Maintain and Scale Your Systems
Workflow mapping and automation aren’t one-time tasks—they’re long-term investments in your business growth.
Best practices:
- Document workflows – Keep records for onboarding or future updates.
- Regularly review workflows – Look for new bottlenecks or improvement opportunities.
- Train your team – Make sure employees know how to use automated systems effectively.
- Gradually scale – Add more workflows and tools as you gain confidence.
Automation doesn’t replace people—it empowers them to focus on meaningful work instead of repetitive tasks.
Step 7: Beginner-Friendly Workflow Examples
Here are some workflows beginners can implement right away:
- Lead Capture & Follow-ups – Automatically send emails or SMS when a new lead signs up.
- Appointment Scheduling – Auto-book meetings through CRM or website forms.
- Internal Notifications & Reminders – Alert team members via Slack or email about deadlines or new leads.
- Data Syncing Across Tools – Automatically update your CRM, spreadsheets, and marketing platforms.
Conclusion
Workflow mapping is the first step to building scalable, stress-free systems. Start by identifying bottlenecks, map your processes, and automate high-impact tasks using beginner-friendly tools like Zapier, Make, n8n, or AI assistants. If you are still reading this blog, here are some of the most common AI workflows used across industries. However, the workflow mapping process will vary depending on the factors or the complexity of the processes you want to automate.
Frequently Asked Questions (FAQs)
Q1: What is workflow mapping, and why do I need it?
Workflow mapping is visualizing your business processes to identify inefficiencies. It’s the first step to effective automation and scalable growth.
Q2: Do I need technical skills to map workflows?
No. Beginners can use simple tools like flowcharts, diagrams, or no-code automation platforms.
Q3: How do I choose which tasks to automate first?
Start with repetitive, high-impact tasks that take the most time or cause errors.
Q4: Which tools are best for beginners?
Zapier, Make, n8n, AI chat assistants, and CRMs like GoHighLevel are practical starting points.
Q5: How long before I see results from automation?
Typically 1–3 months depending on workflow complexity. Start small, measure results, and scale gradually.
.jpg)
.jpg)
.jpg)
.jpg)
.jpg)
Comments
Post a Comment